How to install the first Android 13 beta
Google says Android 13 beta 1 will refine several features such as notification permissions, downgradable permissions, and more. You can find all the details about Android 13 features at the previous link. But what if you want to actually install this on your phone? Well, you can flash a system image to a compatible phone, and we’ve got two ways to do it.
It’s worth stressing that this is a beta and it is primarily geared toward developers. We wouldn’t recommend using this for your primary phone unless you’re OK with bugs and other issues.
Editor’s note: The Android 13 beta 1 steps above and below are compatible with Google Pixel smartphones from the Pixel 4 and 4a series forward.
1. The OTA route
Here’s what you need to get started
- A compatible Pixel 4/4a or later device and a USB cable to connect it to your computer
- Compatible Pixel phones include the Pixel 4, Pixel 4 XL, Pixel 4a, Pixel 4a 5G, Pixel 5, Pixel 5a, Pixel 6, and Pixel 6 Pro.
- The Android SDK installed on your machine with ADB and Fastboot command successfully working — check the tutorial here
Now for the actual steps.
Download the proper files to install Android 13
Before you get things going, you’ll need to download the appropriate OTA image for your smartphone (here) via your computer. Factory images are available too but can require the device to be wiped completely, which isn’t the case for OTA images. Furthermore, installing via an OTA image means you’ll automatically get new betas over the air. Our instructions below also reflect the OTA process.
Boot into recovery mode on your phone

Robert Triggs / Android Authority
- First, shut off your phone.
- Next, hold down Power and Volume Down buttons at the same time.
- The bootloader menu will now show up. Use volume buttons to scroll down to Recovery Mode.
- Select Recovery Mode by clicking the power button.
- You’ll be presented with an Android robot with an exclamation mark on it. Now you’ll press the power button and volume up button for about a second.
- Release the volume up button will send you fully into recovery.
- Next, use the volume buttons and scroll down to Apply update from ADB. Push the power button to select the option.
- Lastly, you’ll see a blank screen telling you how to sideload an OTA.
Prepare your PC to install Android 13
Now that your phone is ready, it’s time to make the magic happen.
- Connect your handset to your PC via USB cable. Remember, your PC needs to have ADB tools installed.
- On Windows, enter Command Prompt. On Linux or Mac, you’ll want to use Terminal. For Windows users, make sure you navigate to wherever you’re storing the folder.
- Next, you must enter
adb sideloadfor Windows or./adb sideloadfor Mac/Linux. - Now you’ll want to enter the name of the .zip folder from before and hit enter.
- Once completed, your phone will return to Recovery Mode, and you can remove the USB cable.
- Go to Reboot Now with the volume keys and press the power button.
That’s it. If everything went okay, you were able to install Android 13 successfully.
2. Using Android Flash Tool

Hadlee Simons / Android Authority
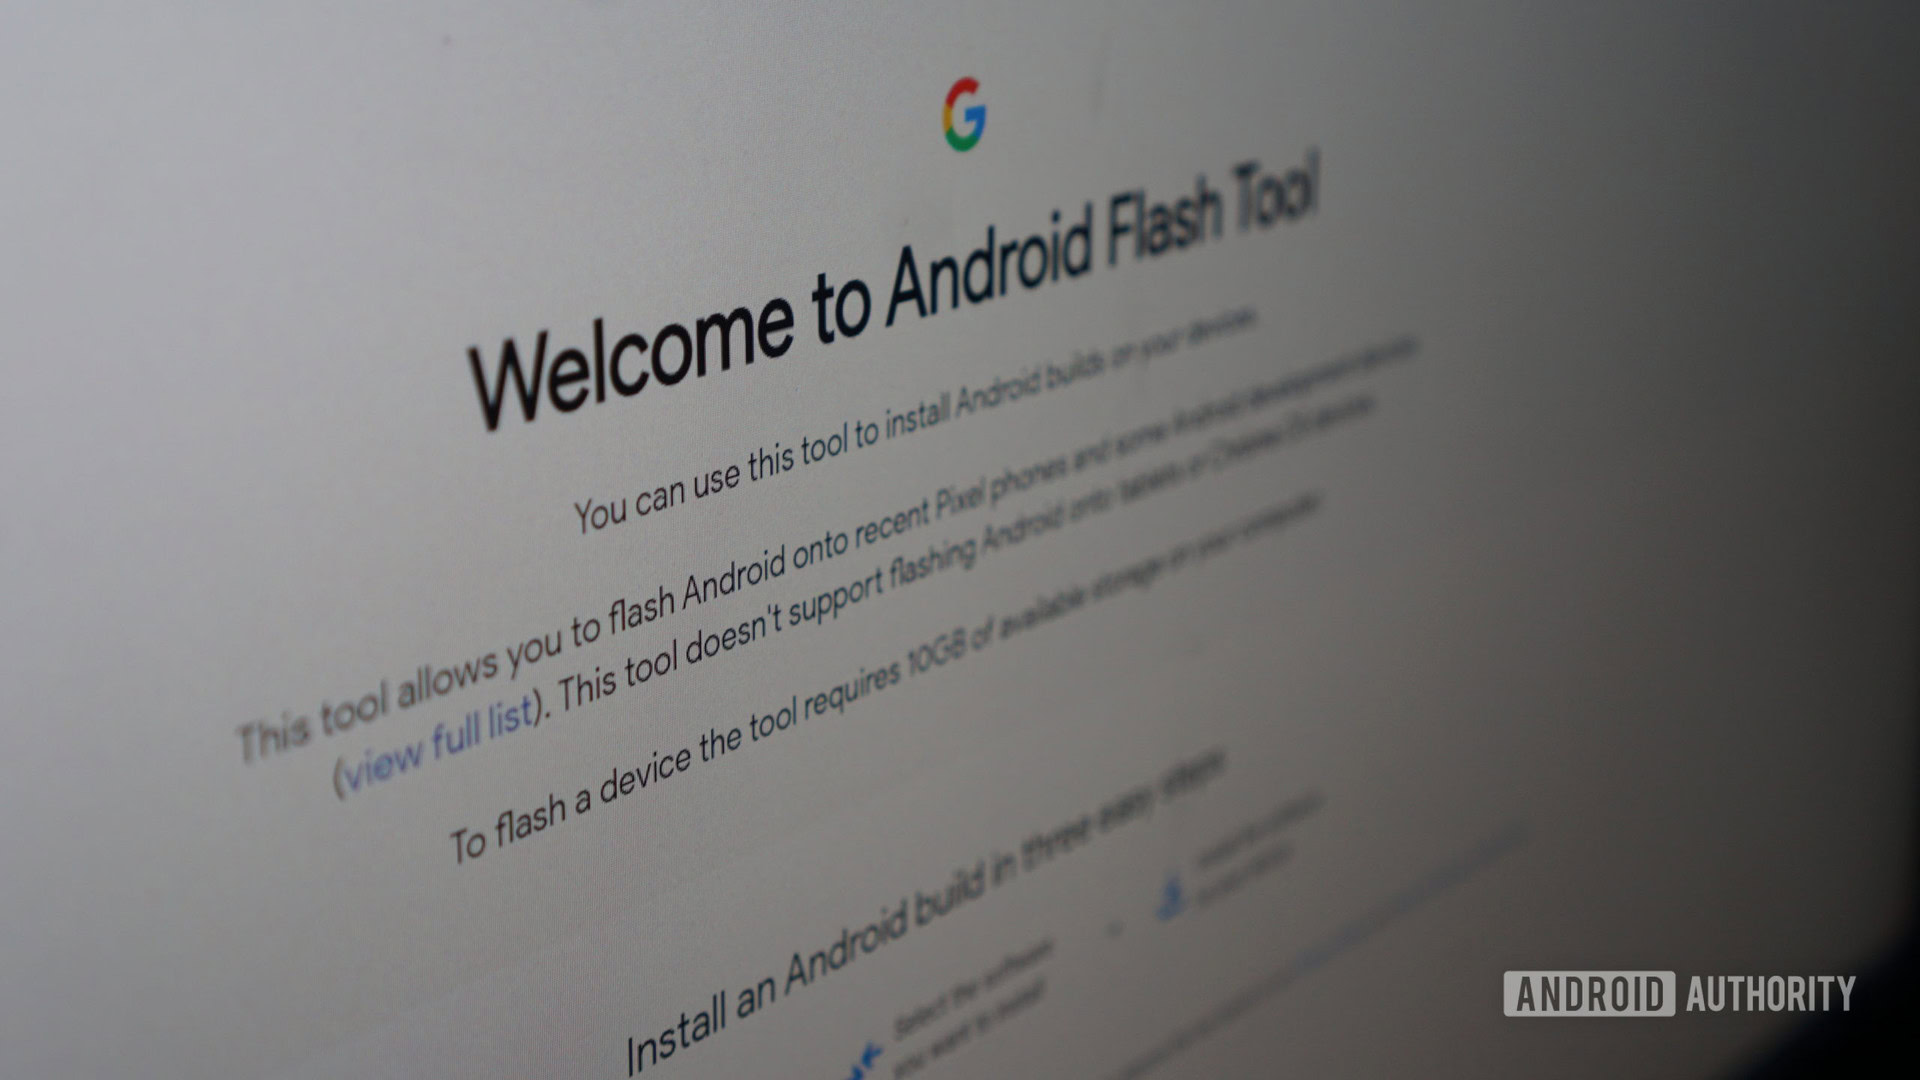
Google also offers a web-based utility for installing Android 13 betas on your phone using a computer. The web utility handles the downloading and installing of the update, although you will need to occasionally interact with your phone when instructed to do so. This will factory reset your phone as well.
Here’s what you need to get started
- A compatible Pixel phone (Pixel 4 or higher, Pixel 4a or higher) and a USB cable to connect it to your computer
- Android USB Driver for Windows PCs (available here)
- 10GB of free storage on your computer
What to do on your phone first
Before you connect your phone to your PC, you’ll need to make sure that developer options, OEM unlocking, and USB debugging are enabled on your phone.
- Go to Settings > About Phone
- Scroll down to Build Number and tap this field repeatedly (roughly seven times). You’ll notice a message popping up that you’re X steps away from being a developer. Keep doing this until you have to enter your PIN code.
- Enter your PIN code and you should see an alert saying that you are now a developer. Developer options are now enabled.
- Visit Settings > System > Developer Options and then enable OEM unlocking and USB debugging.
What to do on your PC

Hadlee Simons / Android Authority
- Make sure that you’ve installed the Android USB Driver for your Windows PC if you haven’t done so already.
- Connect your phone to your PC via USB cable.
- Open flash.android.com.
- Allow pop-ups from flash.android.com so you can grant the website access to communicate with your phone via ADB. Click show dialog again if you need the pop-up to appear again. Choose allow ADB access from the pop-up.
- Choose the add new device button. Another window should open, showing your connected device. Choose the device.
- You’ll see a prompt related to USB debugging appear on your smartphone. Choose Always allow from this computer and tap okay.
- The next step on your PC and the website will be to choose your phone again and then select the desired Android software you’d like to install. Choose Android 13 Beta 1 and then choose install build.
- You’ll then be presented with a warning that your phone will be factory reset. Tap confirm and the process will begin. Your phone’s bootloader will also be unlocked if it hasn’t been unlocked before. You’ll need to use the volume and power keys to unlock the bootloader when prompted.
- Once this is done, the Android 13 software will be downloaded to your computer and automatically installed on your phone. You don’t need to interact with your phone during this time. Your PC’s USB connected/disconnected chimes will sound several times during this process — that’s normal.
- The website will then tell you that your phone’s bootloader will need to be locked to complete the process. Choose start and use the volume and power keys to lock the bootloader when prompted.
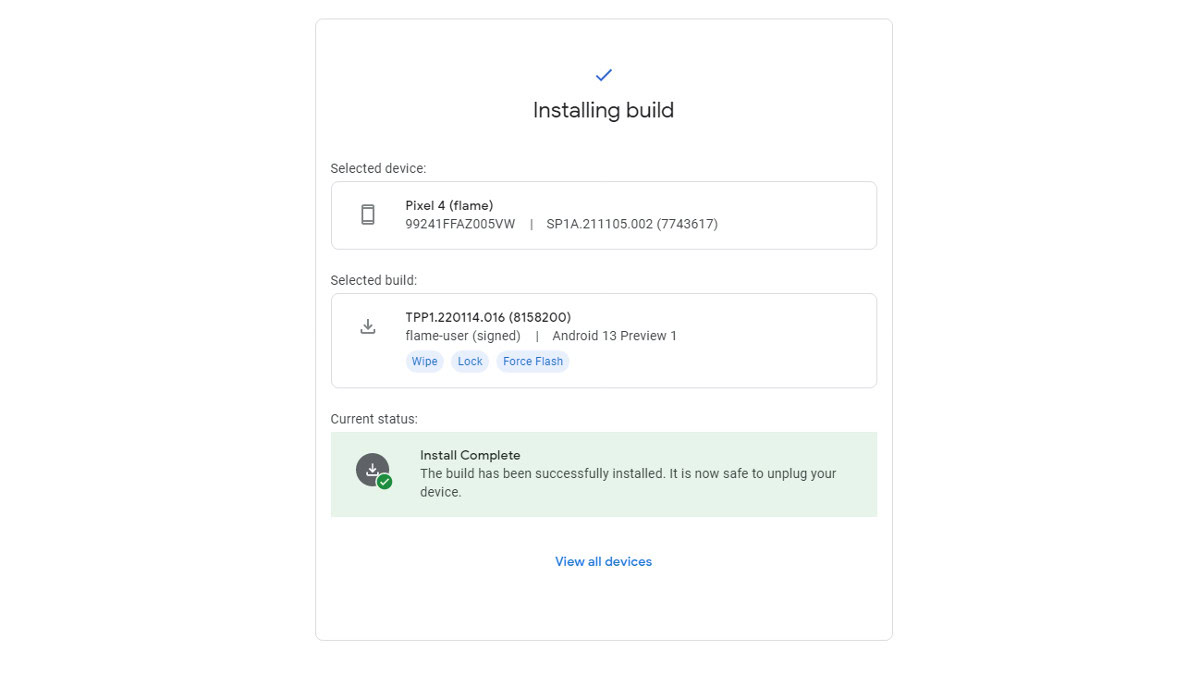
- When the website notes install complete, you can disconnect your phone from the USB cable. That’s it, you’re now running Android 13.
And that’s it for the second method of installing Android 13 on your Pixel phone.
For all the latest Technology News Click Here
For the latest news and updates, follow us on Google News.

