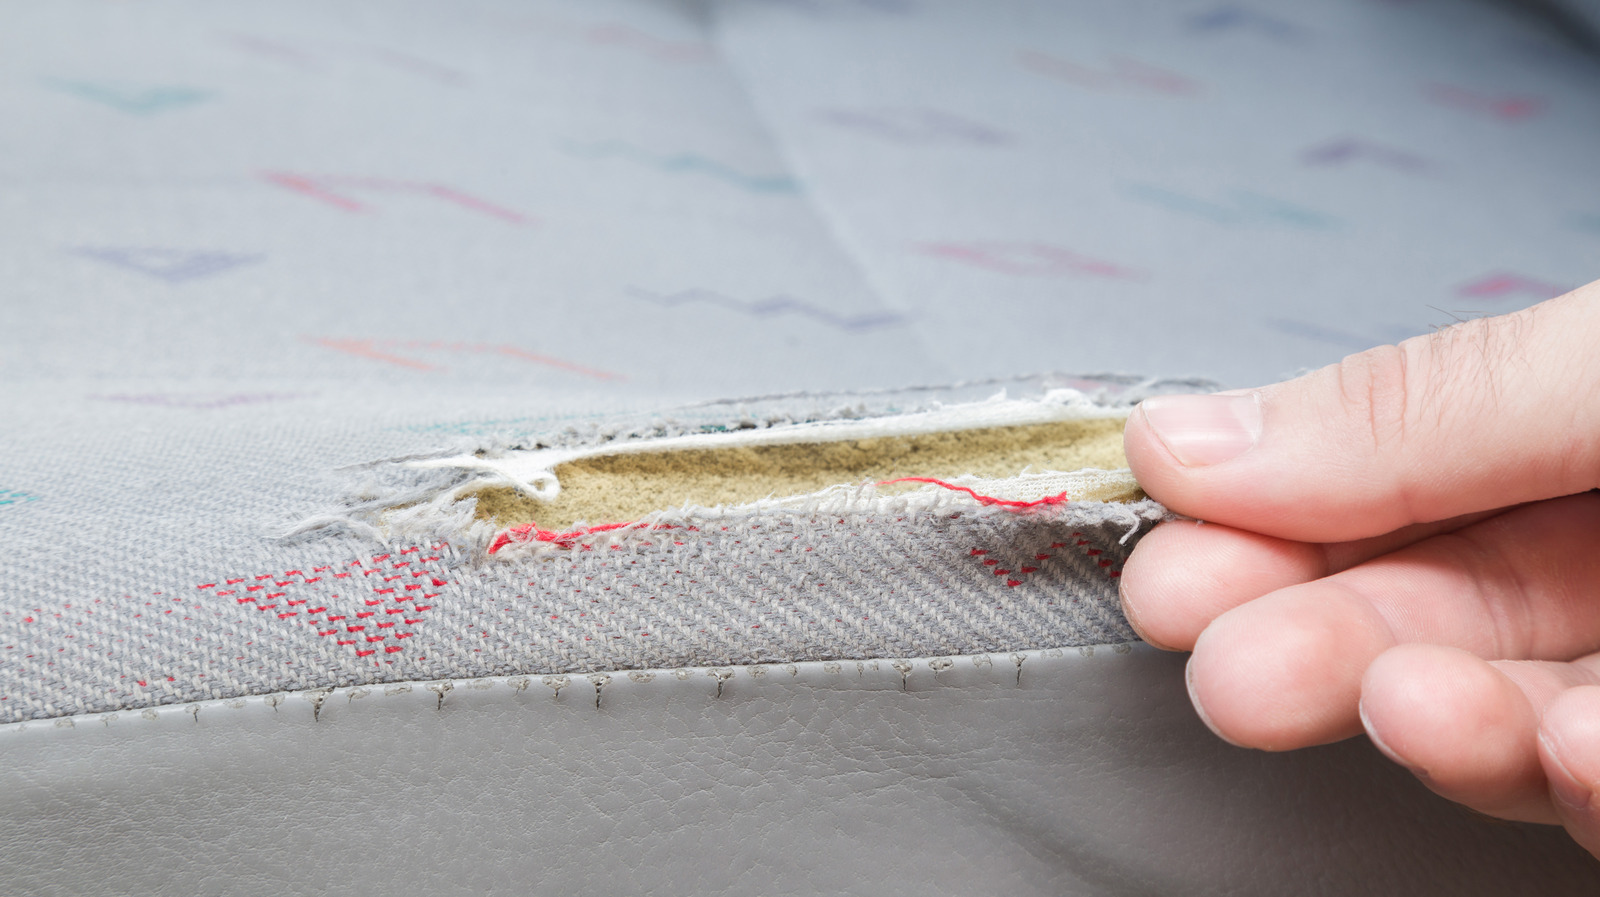
The simplicity and quality of fabric car seat tear repair will depend mostly on your sewing skills. Luckily, as long as you’re willing to exercise patience, you should be able to repair most fabric car seat tears with good results. Head to a craft store and pick up a curved upholstery needle, thread, as well as liquid seam sealant. For larger holes, you’ll need fabric scraps that match your car seat’s color as well as material, and some type of adhesive (iron-on adhesives are recommended).
A simple tear can be fixed by stitching the torn sides together, but make sure to leave a quarter to half an inch from the edges of the tear. Once you’ve stitched both sides together, create a knot at the end of the thread to finish the stitch and trim off excess thread. To finish it off, use the liquid seam sealant to cover the stitched tear, thread, knot, and any needle holes that might be visible.
For a larger hole, take the fabric scrap you have and cut it so it’s slightly larger than the hole. Cut out iron-on adhesive of the same size as the fabric scrap, then tuck it into the hole and put the fabric scrap on top of it. Use an iron to heat up the fabric and the adhesive, closely following the instructions provided on the iron-on adhesive. Everything should bond together and your car seat should be as good as new.
For all the latest Gaming News Click Here
For the latest news and updates, follow us on Google News.
